Staying at home because of the coronavirus pandemic has been hard on all of us for different reasons. My heart goes out to all of those who are suffering, for health or economic reasons, including small business owners. Family photographers like myself can’t go out and do photo shoots for the time being. While it is not ideal for work reasons, I am definitely grateful to be in good health, and I have some more time at the moment to focus on my personal well-being.
This is also a challenging time for families who are unable to schedule child and family photo sessions because of the quarantine. Baby and family milestones continue to happen anyway and risk being undocumented.
I’ve put together these eight tips to help you in taking pictures of your own children at home or outdoors during this time of lockdown and any time you need it in the future. I hope it helps!
#1. Find good lighting
Good natural lighting will be flattering, produce soft shadows, and make your subject look stunning. Without changing anything else, good lighting can turn a photograph from blah to beautiful.
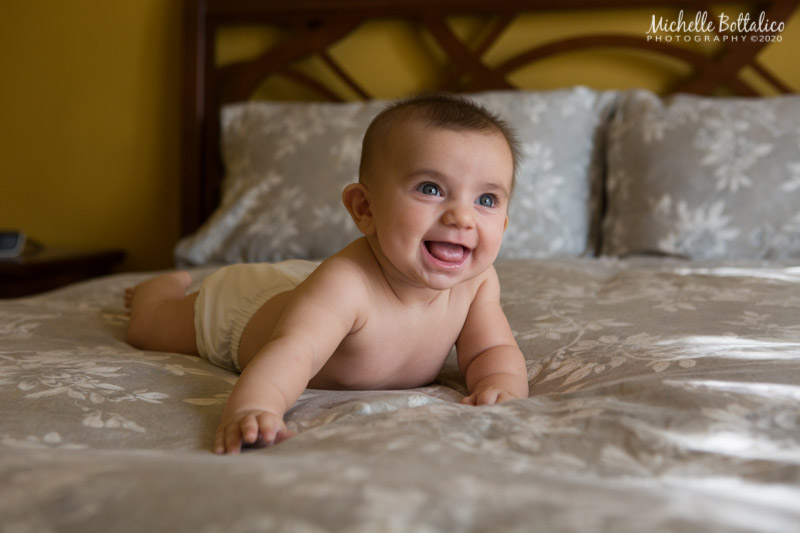
Indoors
Choose a time of day when the room will be illuminated indirectly with natural sunlight. Avoid harsh direct sunlight (when you can see lines of light on the floor). Turn the room lights off. Take portraits close to a large window or French doors and open the blinds and curtains.
If you’re taking posed photos, turn the child to face the window at a 45 degree angle in order to get soft light and attractive shadows on their face. Here’s an example set-up:

How to recognize side, front, and 45 degree lighting:
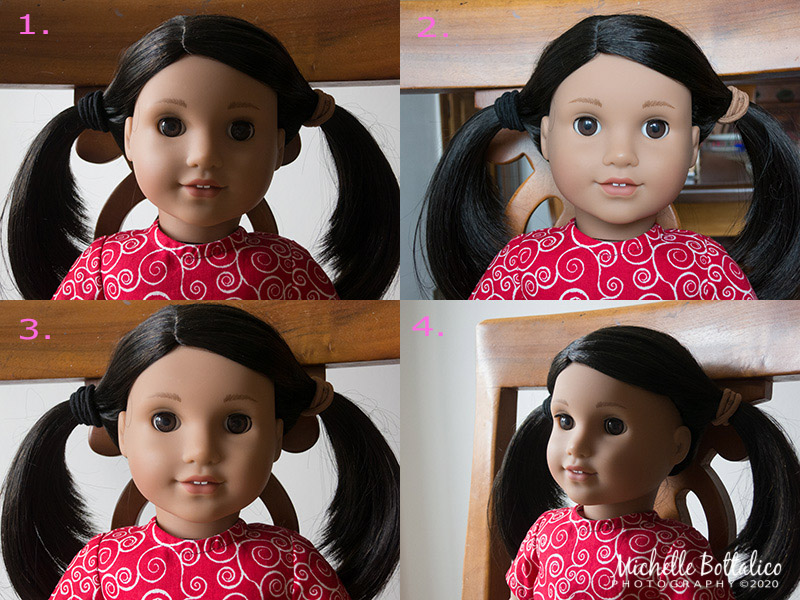
1. Side lighting- 90 degrees to the window. It’s called “hatchet lighting” because it’s like there’s a line dividing the face into two halves- one light and one dark. Try to avoid this!
2. Front lighting- the face is facing the window directly. It’s flat and one-dimensional.
3. The face is at a 45 degree angle to the window. This is a beautiful choice for portraits!
4. The same as #3 but the photo was taken from the side. A nice dramatic effect.
If you’re taking candid photos, just try to have the subject facing the general direction of the window. It makes a big difference.
You can get nice lighting in a doorway. Have the child stand inside the house just behind a doorway. Position yourself outside on the balcony or in the yard, looking in. This is front lighting (#2 from above) but sometimes it works!
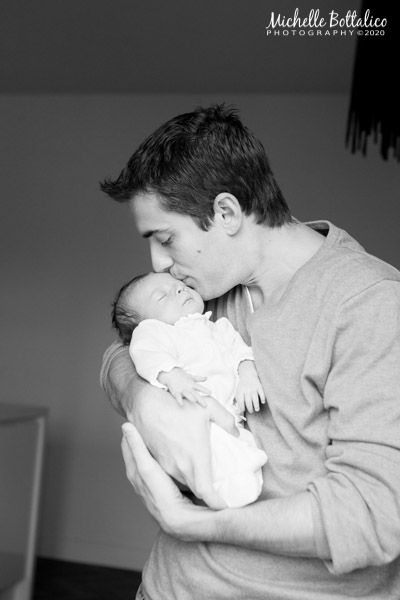
Doorway lighting. I was out on the balcony.
Outdoors
Choose a good time of day. The best lighting for outdoor portraits is very early in the morning (within an hour and a half or so after sunrise) or in the late afternoon (within a couple hours before sunset). This is the “golden hour” when the light is warm-colored and the sun is low in the sky, with long shadows and flattering light.
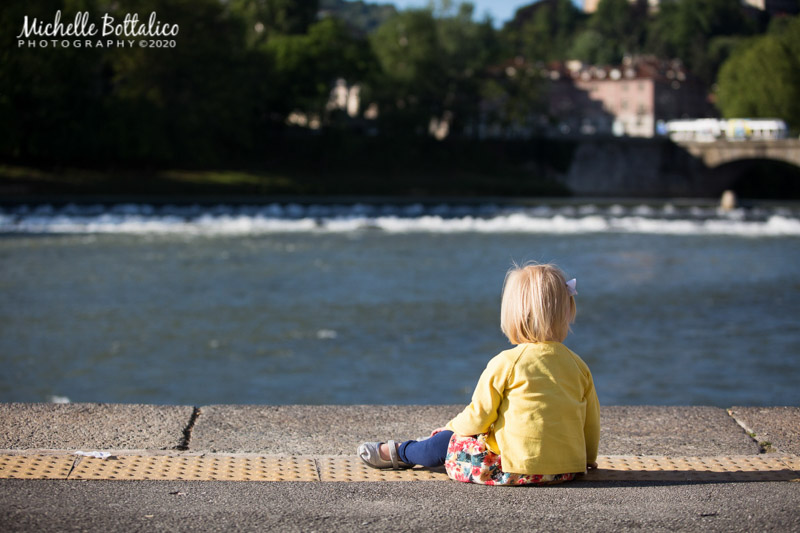
After sunrise
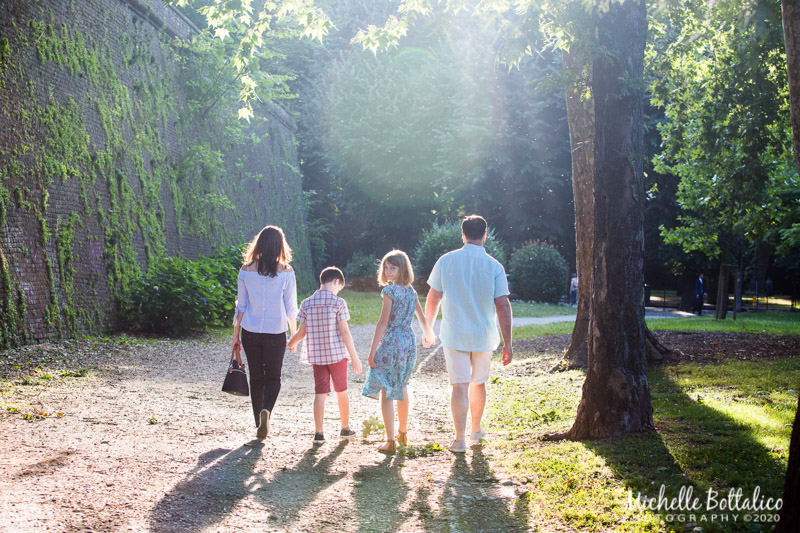
Before sunset
If that doesn’t work, you can take photos in open shade at any time of day. Try not to have a bright sunlit area in the background behind the shady area.
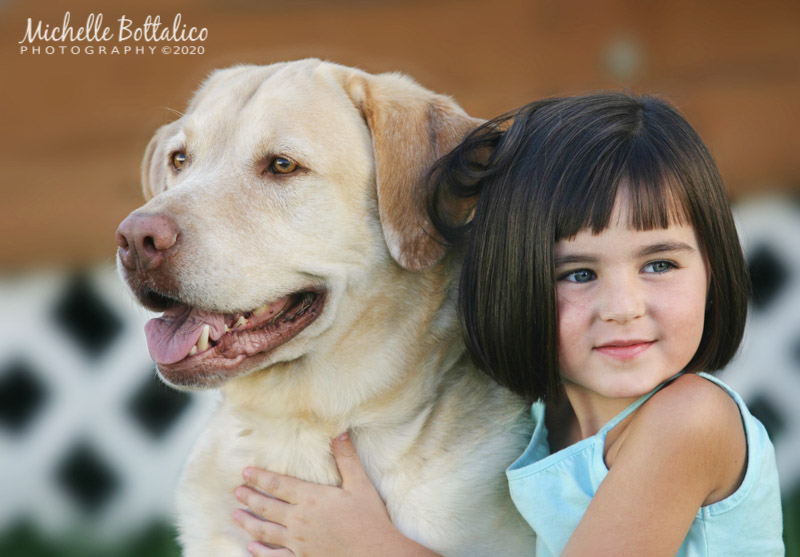
Open shade
#2. Simple is best
Avoid distracting clothing with large patterns, pictures and writing, and keep the background simple. Less distraction will produce a cleaner image and keep the focus on your child.
Indoors
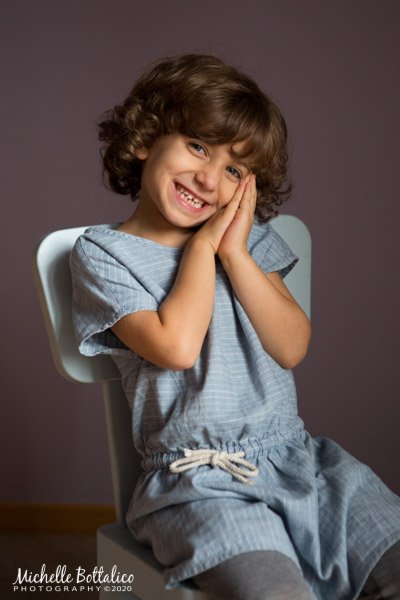
Use a blank wall as a background. Choose a wall near the light and move furniture and toys out of the way (and take down pictures if necessary) if you don’t have an empty wall. Leave space between the child and the wall to avoid shadows.
Take photos on the bed in the master bedroom. Use a plain bedcover if you have one.
Take time to straighten up the room first. It’s easier to focus on the subject without clutter and extra objects in the background. Make sure there is nothing distracting in the background behind your child’s head.
When shooting posed photos, strategically position child and camera so the child’s body hides electrical outlets and other small distractions on the walls.
Outdoors
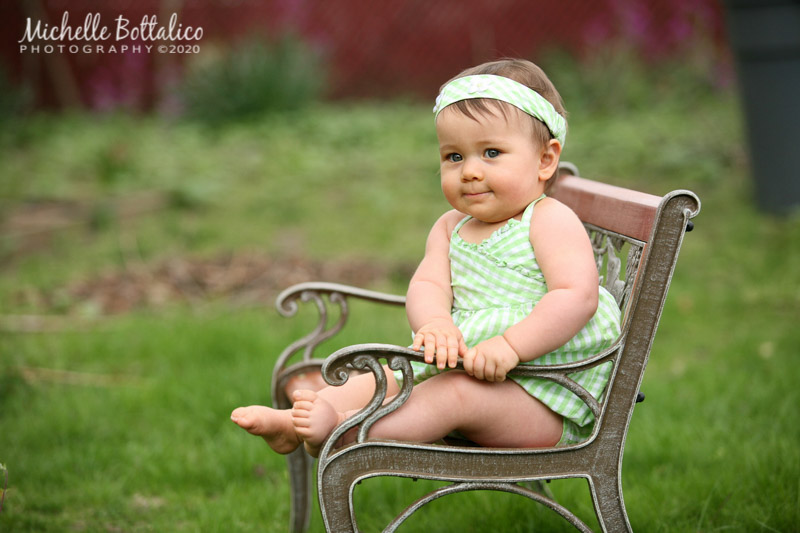
Choose a clean background without distractions. Don’t have the child stand too close to hedges or a wall. Its nice to have some open space behind the subject.
If you can work your camera’s settings, choose a large aperture to get a blurry background. Or choose portrait mode. It will focus attention on your child instead of the surroundings.
#3. Natural posing
Don’t get too hung up on posing your kids perfectly. Even if you succeed in posing active kids, the results could look artificial. When you do pose, take those photos first before young children get bored.
Get down to their eye-level; get on your knees, squat, or lay down! Looking down on a small child from adult-level can scream “snapshot”.
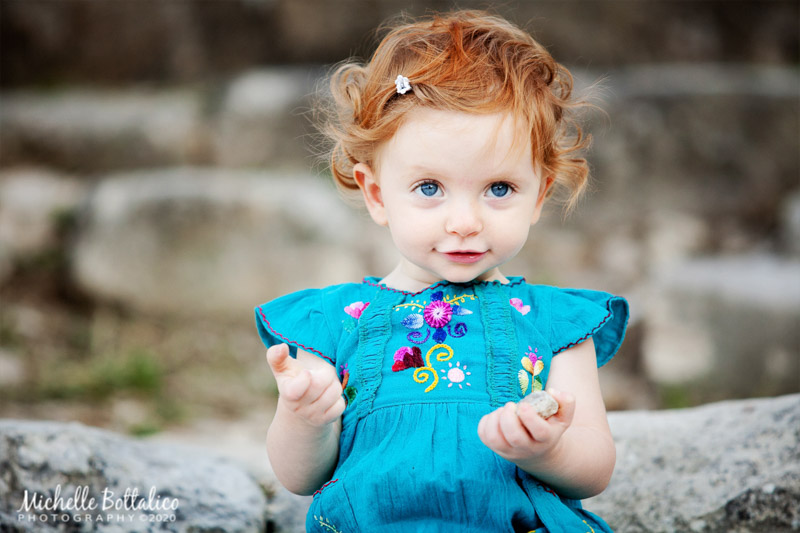
Get down to the child’s eye level.
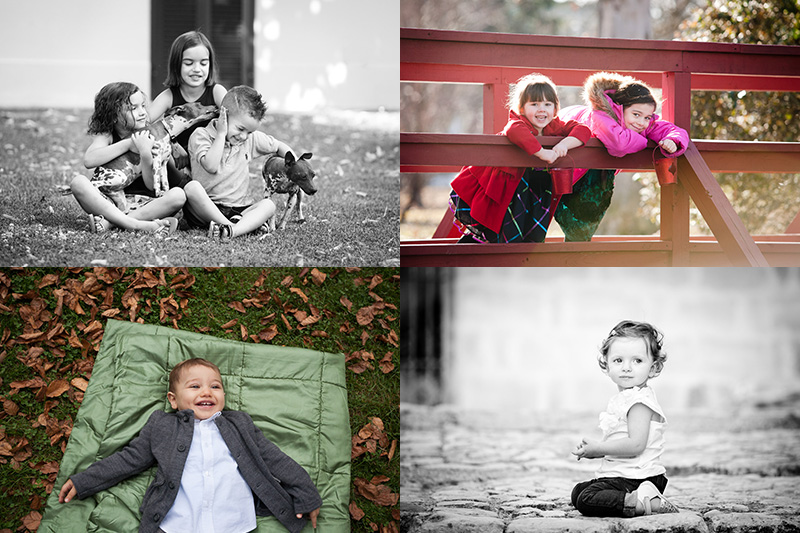
Some posing ideas. Have the child:
-hold something in their hands, clutch some flowers to their chest, or hug their favorite toy
-lean sideways against a wall, tree, fence, etc, or stand behind the fence and look at the camera
-lie on the floor or ground as you photograph them from above
-lay on their belly with their head up
-look to the side and not into the camera
-pet or hug a cat or dog
-sit on the ground, a curb or a stool with their body facing sideways (to avoid a straight-on pose) and first turn their head to look at you and then look away straight ahead
-sit cross-legged and face the camera
#4. Instead of posing, tell stories
This is my favorite tip because of how much I value storytelling in my own work. I take a few posed shots but try to make the majority more natural. Young children might end up in tears if you try to force them to do something they don’t enjoy. Instead of posing, try capturing your child’s natural gestures.
You can get great candid photos of them doing activities they love. Give them something fun to do. Set up a table or an area on the floor near a window and photograph them building a block tower, drawing a picture, or playing dress up. Let them dance and shout. They don’t have to look at the camera. A documentary style shows off real life and you’ll have memories of how you were, not just what you looked like.
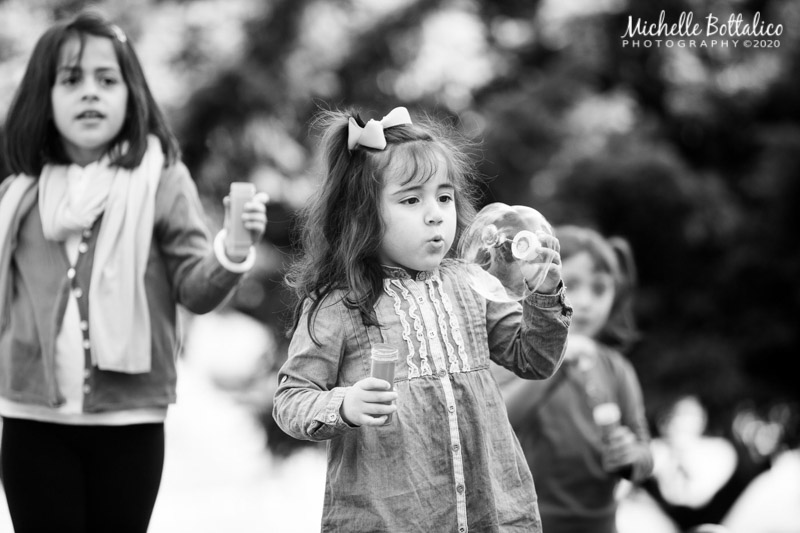
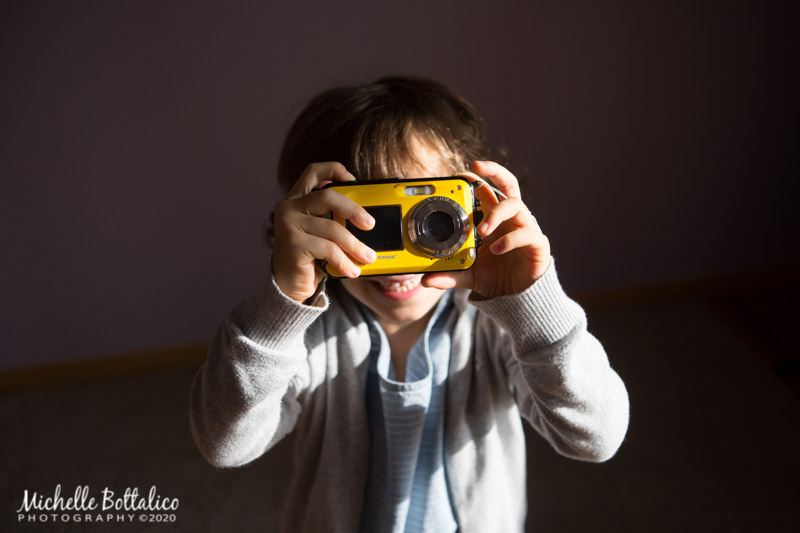
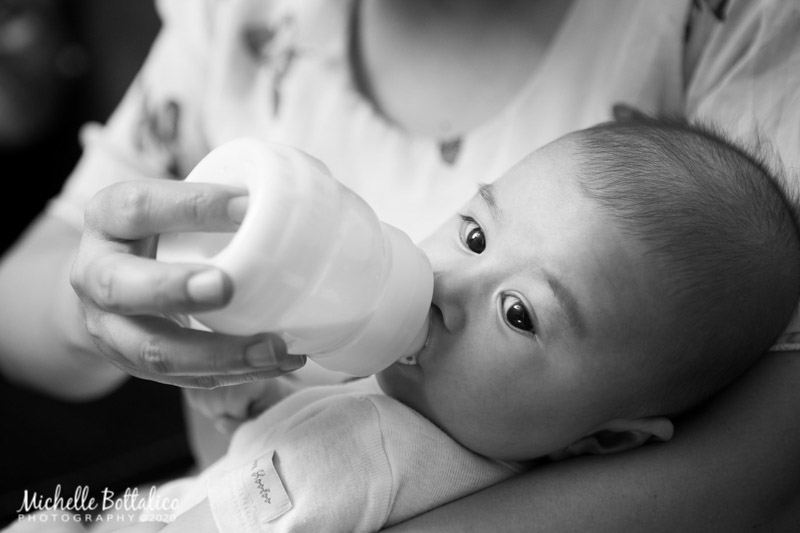
Your children might not cooperate when you declare it’s time for a photo shoot. Have your camera ready during ordinary moments like play time, snack time, and bath time. Be ready to take pictures when they’re naturally happy or focusing on everyday activities.
#5. Highlight relationships
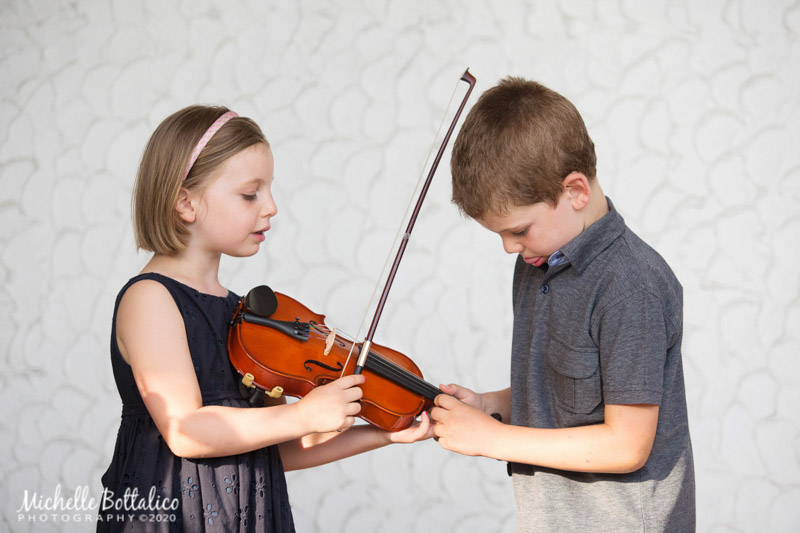
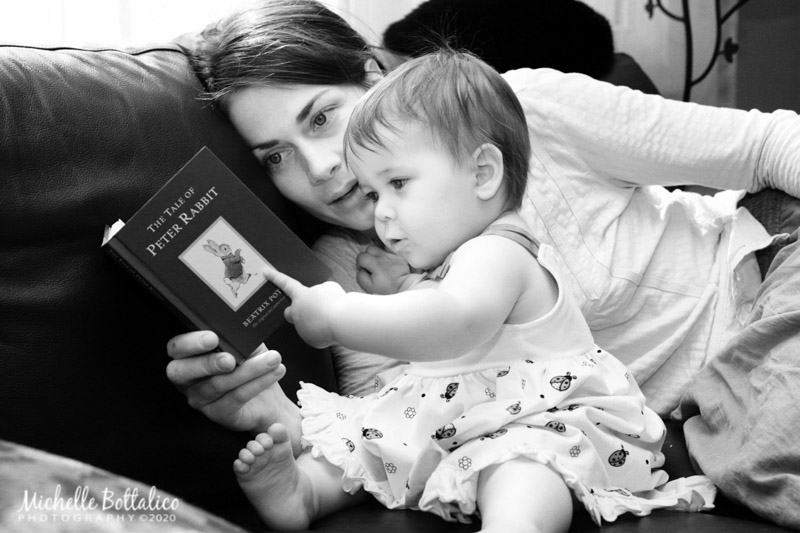
Highlight relationships by taking photos of your child snuggling on the couch with Mom or Dad or listening to them read a book. Raise the baby in the air and capture those big smiles when they’re in the air and when they come back down. Ask siblings to tickle each other. Interaction makes for great shots.
#6. Baby and toddler tips
Pick a time of day (often early morning) when your baby is happiest and not tired or hungry.
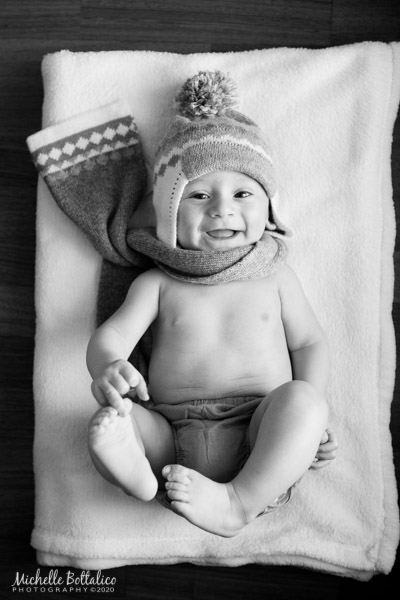
Babies too young to sit up: lay them down on a blanket near a window and take some photos from above.
Babies who can sit up: this is a great time to photograph babies because they laugh and can’t run away. Make sure your baby is looking towards the window light if indoors. Use a helper; have someone stand close to the camera lens with a toy that lights up or plays music to get the baby to look at the camera. Have the helper stand a few feet away or by the window if you want the baby to look away from the camera or if you want to photograph their profile. See if your helper can make the baby laugh. Play peek-a-boo. Be fast! As soon as the baby looks up (and hopefully smiles) snap the photo.
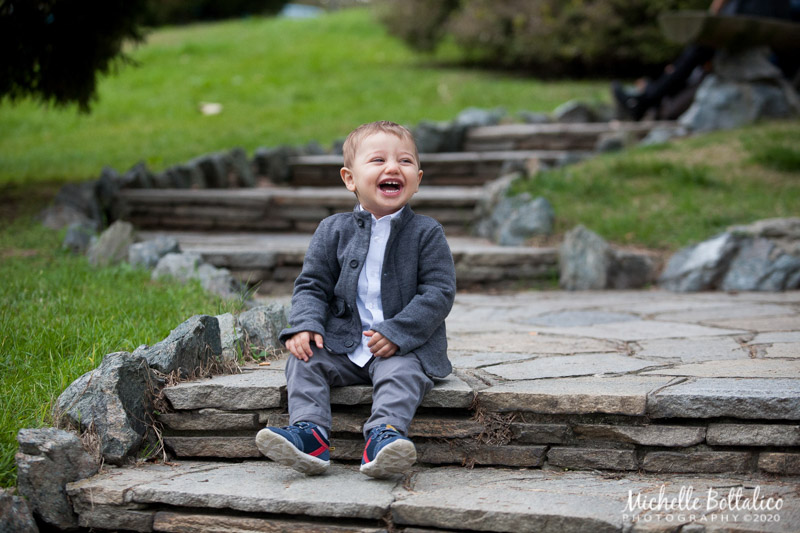
Toddlers and young children: give them a stool or rocking horse or even a box to sit on. Be fast- they will want to run away soon. Give them a toy or an object to hold to keep their attention for a moment. Make silly faces or embarrassing noises to get laughs out of them. Don’t be shy. Turn it into a game and get them to do silly poses, or have a funny face contest, then take the photo after they end the pose and start laughing. Don’t ask them to sit and smile for the camera- it won’t work! Bribe them with a reward like chocolate if you have to.
#7. Technical tips
It’s important for your photos to be in focus. Keep your camera steady to avoid blurry photos. Hold your breath when you take the photo (I do this myself!) Eyes are the most important part of a portrait; try to have them in good focus.
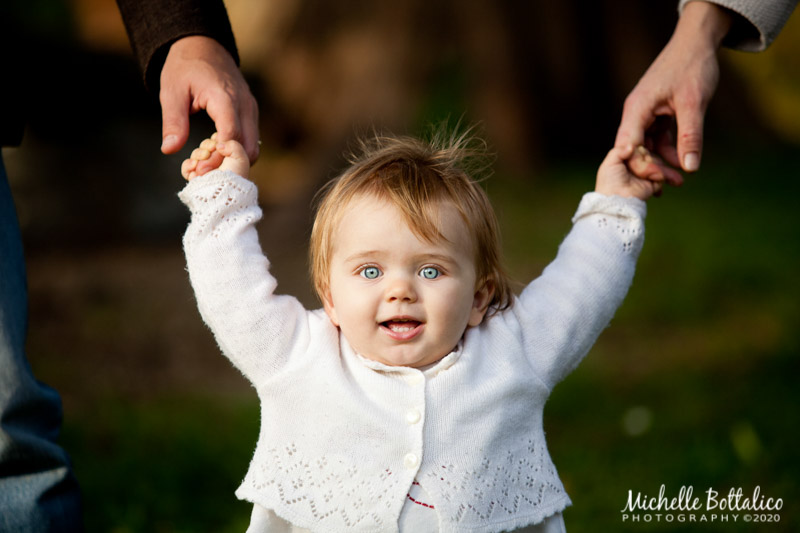
Make sure the eyes are in focus.
Pay attention to your composition. Use the rule of thirds. Imagine drawing lines to divide the frame into thirds vertically and horizontally, and position your subject at one of the intersections.
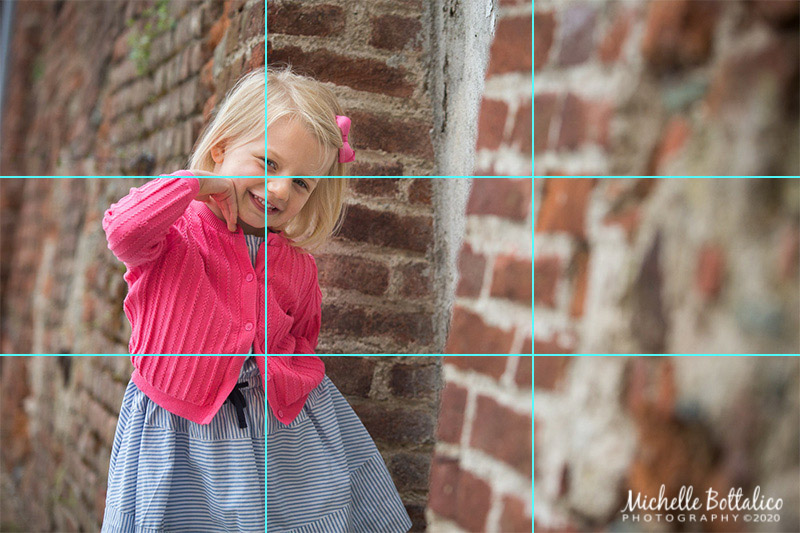
The rule of thirds
Vary your shots. Show the environment and the whole body, then take a portrait from the waist or knees up, and finally get in close to highlight the face. Take both vertical and horizontal shots.
#8 Have realistic expectations
Photographing children requires patience. Try not to have unrealistic expectations and remember that photographing kids is challenging even for professionals! Try to make it fun and go with the flow. Don’t try to force your kids to take the perfect shots you might have in your mind, and try not to yell at them. Let them lead, ask them for their ideas for photos they’d like to do, and follow them around when they play, and you can end up with some beautiful shots you didn’t think of taking.
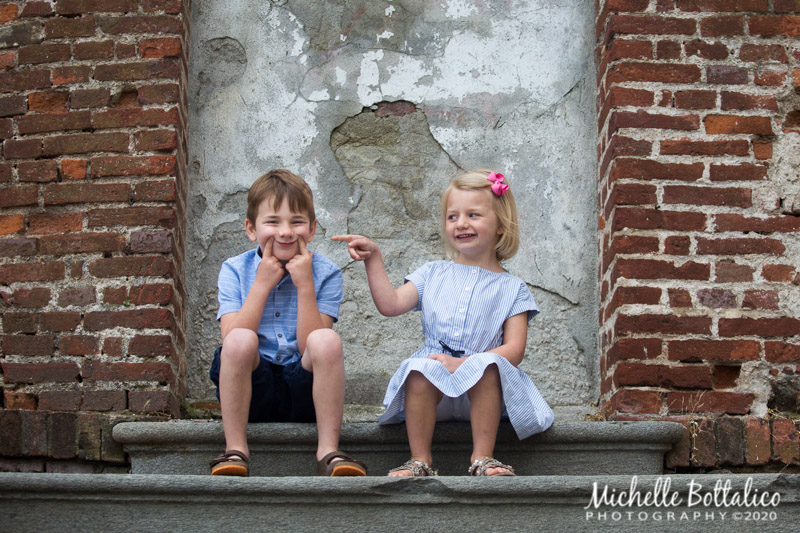
Have fun 🙂
Comment
Grate!